
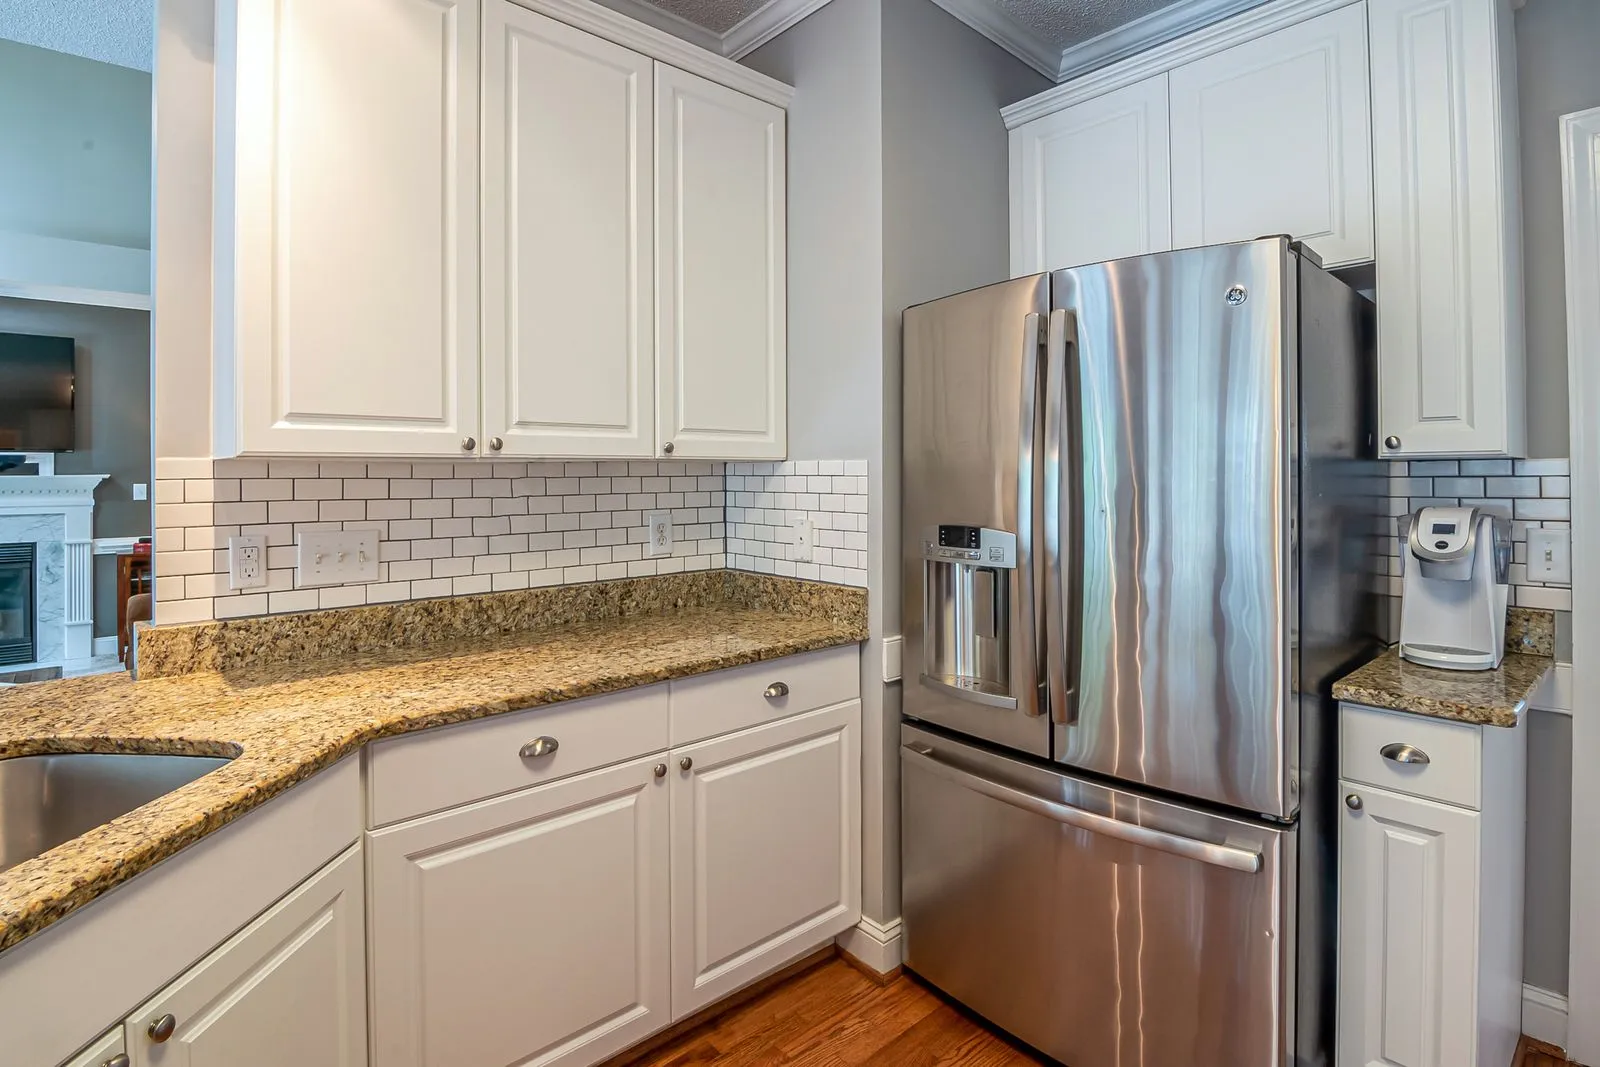
A backsplash can add color, texture, and an easy-to-clean surface, but a good result starts before the first tile goes up. Wall condition, outlet placement, grout selection, and the installation plan all affect how the finished space looks and works. A little preparation also helps prevent last-minute decisions around cabinets and counters. Use this checklist to get your kitchen or bathroom ready and have a clear, useful conversation with your tile installer.
Prepare the Wall
The tile needs a clean, sound, reasonably flat surface. Remove grease, dust, loose paint, and wallpaper, and check for peeling or soft areas. A backsplash installed over a weak or uneven wall may not sit securely or look straight. Point out visible damage to your installer before work begins so you can agree on any repairs or surface preparation.
Clear the counter and remove small appliances, decor, and anything stored nearby. Ask whether the installer will protect cabinets and countertops, and confirm who will move items or remove existing backsplash materials. If the wall has a glossy finish, old adhesive, or several layers of paint, ask how the surface will be made suitable for tile.
Map Out Outlets
Outlets and switches interrupt the tile pattern, so discuss their locations before installation. Share how you use the counter and whether outlet access, under-cabinet lighting, or appliance connections affect the layout. Your installer can plan tile cuts around electrical boxes and help avoid narrow, awkward pieces where possible.
Do not move or modify electrical boxes yourself. If a box needs to be repositioned or adjusted for the added tile thickness, ask who will coordinate that work with a qualified electrician. Confirm that any electrical changes will be completed safely and before the tile is installed. Also discuss outlet covers: existing covers may no longer fit flush once the tile is in place.
Choose Tile and Grout
Bring samples of your tile, countertop, cabinet finish, and paint color into the space. Check them together in the room’s actual light, since colors can look different under daylight and fixtures. Review the tile size, pattern, edge finish, and where the installation will start and end. These choices shape how the backsplash meets cabinets, windows, and adjacent walls.
Grout color changes the overall effect. A close match can make the pattern feel quieter, while contrast makes each tile stand out. Ask your installer to explain suitable grout options for the tile and the kitchen or bathroom conditions, including cleaning and maintenance. Confirm the grout-joint width and whether the tile calls for a particular grout type. Follow the product care instructions after installation.
Confirm the Installation Plan
Before work starts, review the layout, tile pattern, starting point, and cuts at corners, edges, and around outlets. Ask how the installer will handle transitions where tile ends and what trim or finished edge will be used. A quick review with tile samples or a layout sketch can catch mismatched expectations before adhesive goes on the wall.
Agree on who supplies the tile, grout, trim, and other materials, and confirm what preparation and cleanup are included. Discuss access to the work area, protection for nearby surfaces, and when the space can be used again. Tile and grout products have different setting and curing instructions, so ask your installer for the specific wait times and care steps for your project.
A well-planned backsplash begins with a ready wall and clear decisions about outlets, grout, edges, and cleanup. Write down your questions, gather a few material samples, and review the layout with your installer before work begins. Tile Side Up can help you talk through a subway tile backsplash for your Santa Fe space.